
Automated Evidence Collection
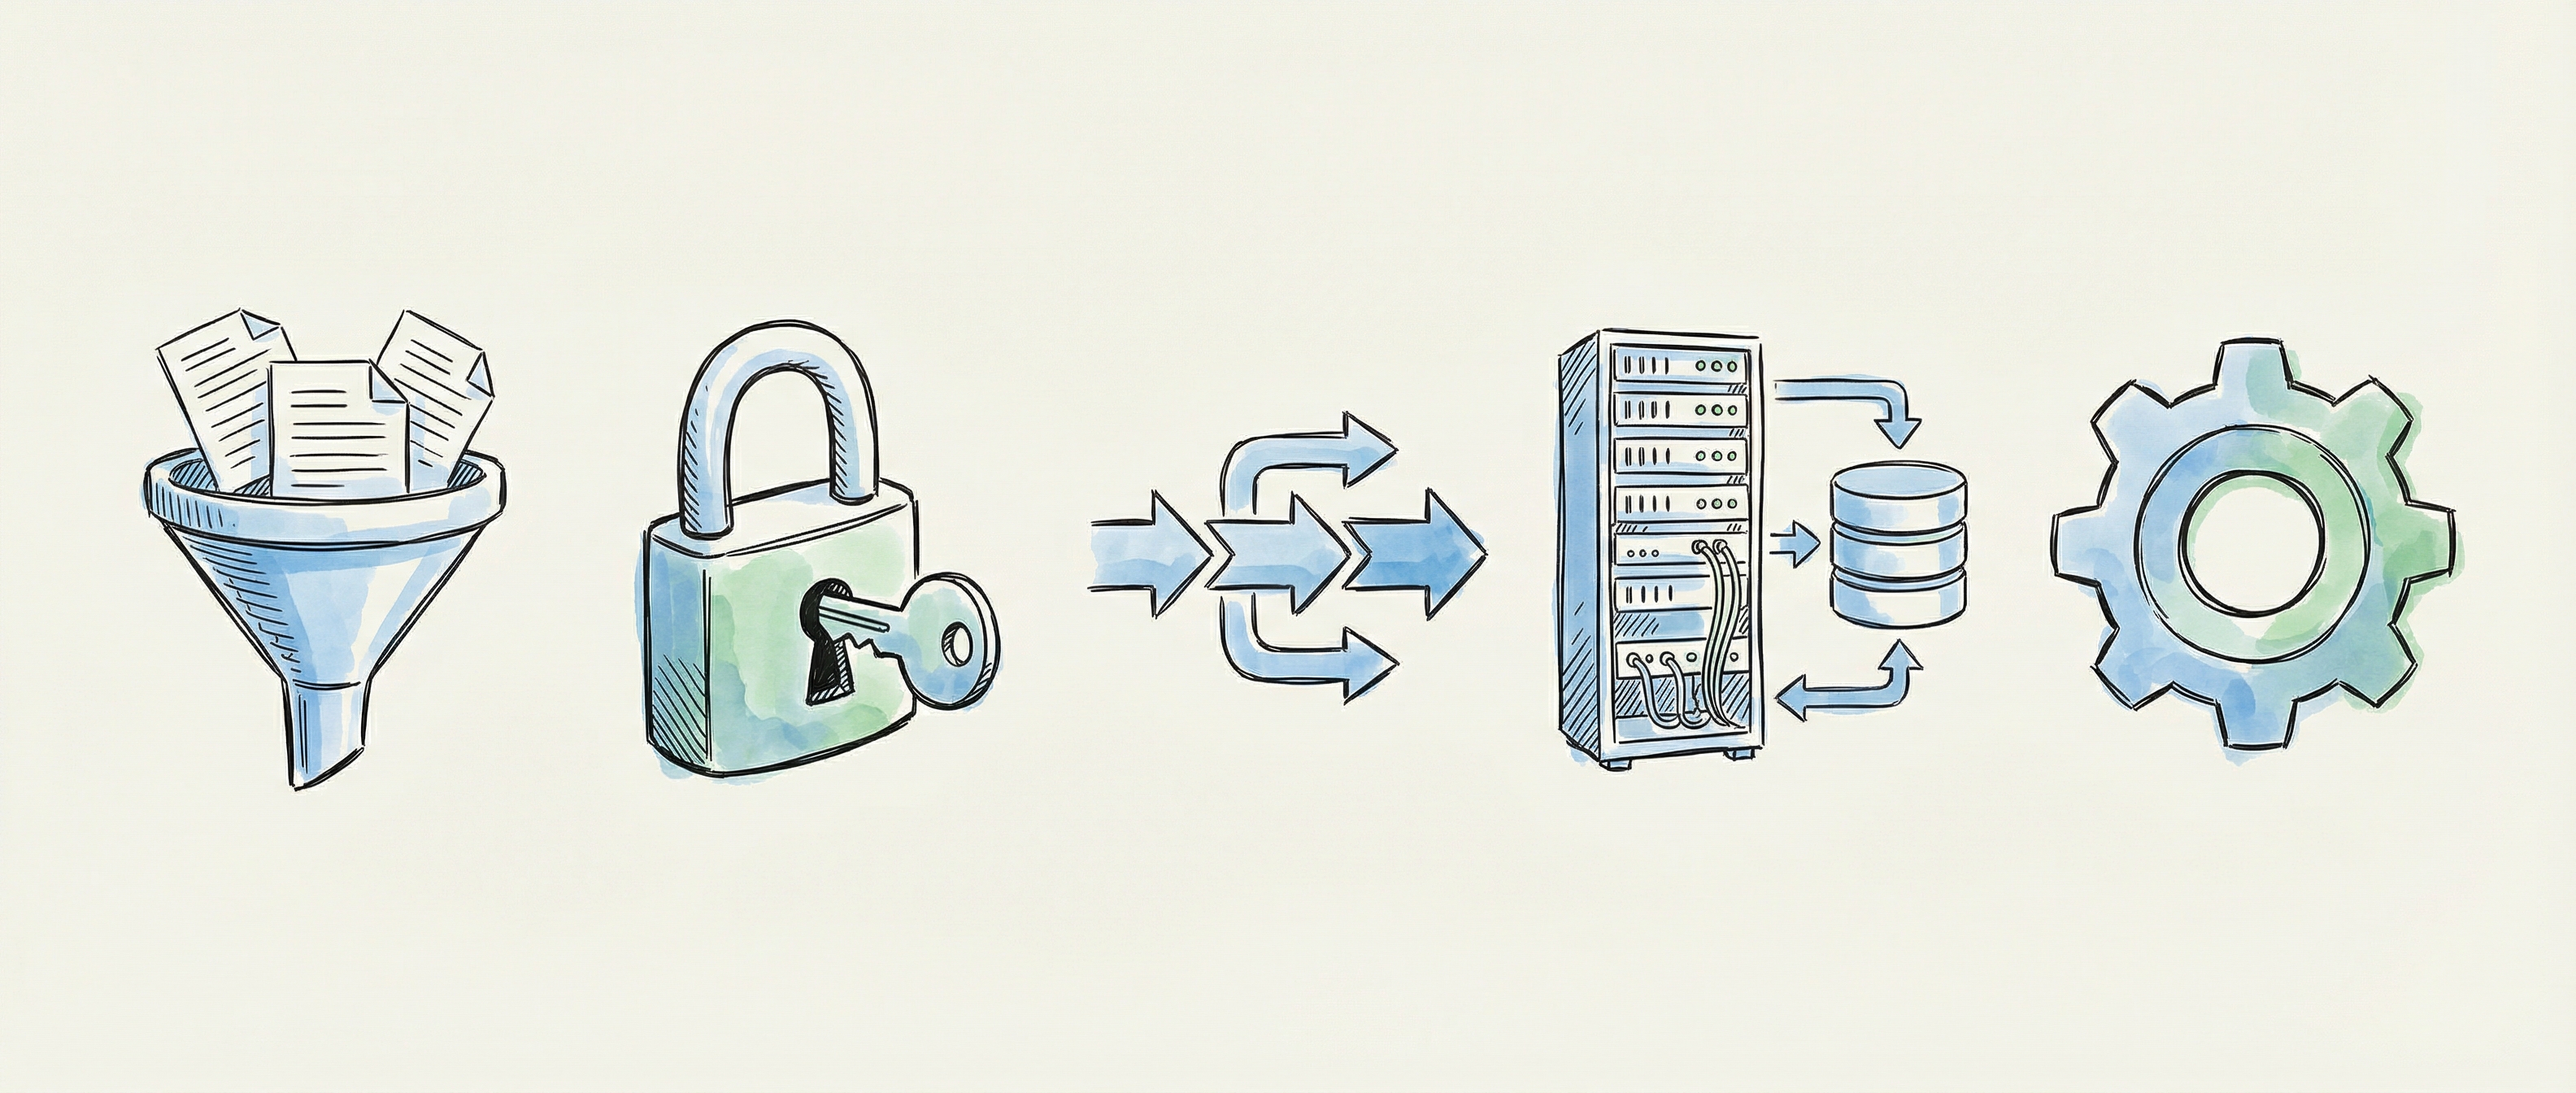
Automated evidence collection lets your systems send compliance artifacts directly to the platform — removing manual uploads and ensuring evidence stays current. Collection points act as secure endpoints that receive, validate, and store evidence automatically.
Overview
Section titled “Overview”A collection point is a secure API endpoint that receives evidence from an external system. Each collection point has its own credentials, frequency expectations, and optional evidence type filters.
| Approach | When to Use | Effort |
|---|---|---|
| Manual Upload | Ad-hoc or infrequent evidence | Low setup, ongoing effort |
| Automated Collection | Regular, repeatable evidence from integrated systems | Higher setup, minimal ongoing effort |
Automated collection is ideal for evidence that must be gathered on a regular schedule — daily vulnerability scan reports, weekly access reviews, or monthly configuration snapshots.
Setting Up Collection (The Wizard)
Section titled “Setting Up Collection (The Wizard)”To create a collection point, click Set Up Collection in the Evidence Workspace. The wizard guides you through four steps.
Step 1: Select a System
Section titled “Step 1: Select a System”Choose the system that will send evidence to this collection point.
- Browse or search your registered systems by name or type
- Use the filter to narrow results by system category
- Each system shows its type and current status
Step 2: Configure Collection
Section titled “Step 2: Configure Collection”Define how and what the collection point should accept.
| Setting | Description |
|---|---|
| Method | Choose Manual Upload or Automated Collection |
| Frequency | How often evidence is expected: real-time, daily, weekly, monthly, quarterly, or annually |
| Evidence Types | Comma-separated evidence IDs to accept, or leave empty to accept all types |
The frequency you set here determines the freshness thresholds used by Evidence Health to flag stale evidence.
Step 3: Generate Collection Point
Section titled “Step 3: Generate Collection Point”Click Create Collection Point to generate secure credentials. Three items are displayed:
| Item | Purpose |
|---|---|
| Collection Point URL | The endpoint your system sends evidence to |
| Collection Point ID | Unique identifier for this collection point |
| Secret Key | Authentication credential for API requests |
After saving your credentials, click Test Connection to verify the collection point is reachable and correctly configured.
Technical Details — expand this section to view the API request format, headers, and example payloads. Share these with the team configuring the sending system.
Step 4: Review & Export
Section titled “Step 4: Review & Export”The final step shows a configuration summary with all settings and credentials.
| Action | What It Does |
|---|---|
| Export Configuration (YAML) | Downloads a YAML file with all collection point settings |
| Copy Example Request | Copies a ready-to-use cURL command to your clipboard |
Click Done to close the wizard and return to the Evidence Workspace.
File Storage
Section titled “File Storage”All evidence files are stored in your deployment’s configured object storage, and the platform talks to that store with encryption in transit. Files uploaded via the platform UI, automated collection points, or webhook integrations all go to the same place. Everything beyond that — encryption at rest, who is allowed to write into the bucket, how long deleted objects are retained — is a property of the store you configure, not of the platform.
Which store that is depends on how the platform was deployed:
| Deployment | Evidence store |
|---|---|
| Managed SaaS | Platform-managed object storage |
| Self-hosted, your own | Any S3-compatible store — Amazon S3, Google Cloud Storage over its S3-compatible API, MinIO, or another — set per organisation under Settings, Evidence storage. This is the recommended path for real evidence |
| Self-hosted, bundled | The bundled MinIO container, which is what a fresh install uses if nothing else is configured. It is an evaluation and pilot store: MinIO’s community edition is archived and the shipped image is unpatched — see Evidence Storage Settings |
Organisation administrators can point their own organisation at a store of their own from Settings, then Evidence storage — see Evidence Storage Settings.
Self-hosted operators: see Evidence storage for how to point it at your own bucket or container, and note that the bundled backup scripts capture the MinIO volume only — external storage needs its own protection.
Webhook Evidence Files
Section titled “Webhook Evidence Files”Evidence files received via webhook integrations are automatically surfaced alongside manually uploaded files. When a webhook delivers evidence:
- The file is stored in the same object storage as manual uploads, with the same security controls
- The file appears in the evidence item’s file list in the Evidence Workspace
- Metadata (filename, size, upload timestamp, source) is recorded
- The evidence health dashboard updates automatically to reflect the new collection
This means evidence from automated pipelines and manual uploads coexist in a single view — you don’t need to check multiple locations.
File Security
Section titled “File Security”All files uploaded to collection points — whether manually, via automated collection, or via webhooks — are automatically scanned for malware before being accepted into the platform.
That guarantee covers the platform’s own upload path. It is not a property of the bucket: anything written directly into object storage, bypassing the platform, is never scanned and appears in the file list like any other object. The scan is therefore only as good as the write authorisation on the store you configured — one more reason self-hosted installs should hold evidence in a store they control rather than the bundled one.
| Scan Status | Meaning |
|---|---|
| Pending | File is queued for scanning |
| Clean | No threats detected — file is safe |
| Infected | Threat detected — file is quarantined and not available for download |
| Skipped | File type not supported for scanning — stored with a warning |
Files that arrive at a collection point, whether uploaded or delivered by a collector, are assessed by the platform’s AI as part of the evidence item’s current collection window shortly after they land. See AI evidence assessment for what is assessed, when, and how to record preparer assertions on a manual upload.
Previewing Evidence Files
Section titled “Previewing Evidence Files”Once evidence files have been uploaded to a collection point, you can preview them directly in the platform without downloading.
To preview a file, open the evidence item and click the View button next to any file, or click the filename itself. The preview opens in a modal:
| File Type | Preview Behaviour |
|---|---|
| Images (PNG, JPEG, GIF) | Rendered inline at full resolution |
| Displayed inline in your browser’s built-in PDF viewer, with an Open PDF link for browsers that cannot embed PDFs (for example iOS Safari) | |
| JSON | Rendered as formatted, syntax-highlighted code |
| YAML | Rendered as formatted, syntax-highlighted code |
| Other | Download link provided — inline preview not available |
Close the preview by pressing Esc or clicking anywhere outside the modal. A fresh download link is generated each time you open a preview, so links never expire while the modal is open.
Rate Limits
Section titled “Rate Limits”Collection points include rate limiting to prevent abuse and ensure platform stability. The default limit is 60 requests per minute per collection point. If your system exceeds this limit, requests will receive a 429 Too Many Requests response until the window resets.
Your administrator can adjust rate limits per collection point if your use case requires higher throughput.
Best Practices
Section titled “Best Practices”- Register all evidence-producing systems before setting up collection points — the wizard requires a registered system
- Use specific evidence type filters to avoid collecting irrelevant data and reduce noise
- Store secret keys securely in a password manager or secrets vault — never in source code or shared documents
- Test the connection before relying on automated collection in production
- Monitor Evidence Health regularly to ensure collection points are delivering evidence on schedule
Related Guides
Section titled “Related Guides”- Evidence Management — Overview of evidence scoping, reporting, and task management
- Evidence Health — Monitor evidence freshness and staleness across your organisation
- Dashboard Overview — View evidence tracking metrics at a glance