
First-run setup
The first time you run scripts/install.sh it starts a small web wizard that asks two questions
(where the database is, and how people will sign in), generates every other credential, and writes
them to files only your operator account can read. This page walks through that wizard screen by
screen. The command-line reference for the installer, and the scripted alternative, are on the
Deployment page.
Every screenshot below was produced by docs-site/scripts/capture-installer-screenshots.sh
against the current image, so what you see here is what the wizard shows.
Before you start
Section titled “Before you start”-
Clone the repository on the host that will run the platform and check the prerequisites.
Terminal window git clone https://github.com/MarkAC007/scf-controls-platform-oss.gitcd scf-controls-platform-oss -
If the host is remote, open an SSH tunnel first. The wizard publishes on the host’s loopback interface only, never on a network address, because it authorises whoever reaches it to write the platform’s credentials. Run this from your own machine, in a terminal you keep open for the whole install:
Terminal window ssh -L 8765:127.0.0.1:8765 user@your-hostThrough a bastion, add the jump host:
Terminal window ssh -J user@bastion -L 8765:127.0.0.1:8765 user@your-hostIf port
8765is taken on either side, pick another for the wizard and tunnel to that one instead. The wizard port is set with--port; the port you forward from must match it:Terminal window ssh -L 9765:127.0.0.1:9765 user@your-hostscripts/install.sh --port 9765 --up # on the host, inside that SSH session -
Run the installer on the host. With
--upit also starts the stack when the wizard finishes.Terminal window scripts/install.sh --upIt prints the address to open and a one-time setup token:
Open this address in your browser:http://127.0.0.1:8765/Setup token (paste it into the first field):e0M2qfPo9gQ32j98sV5bnqwYiTLBInvKvUhNGs76Open
http://127.0.0.1:8765/in the browser on your own machine. With the tunnel in place that address reaches the wizard on the host.
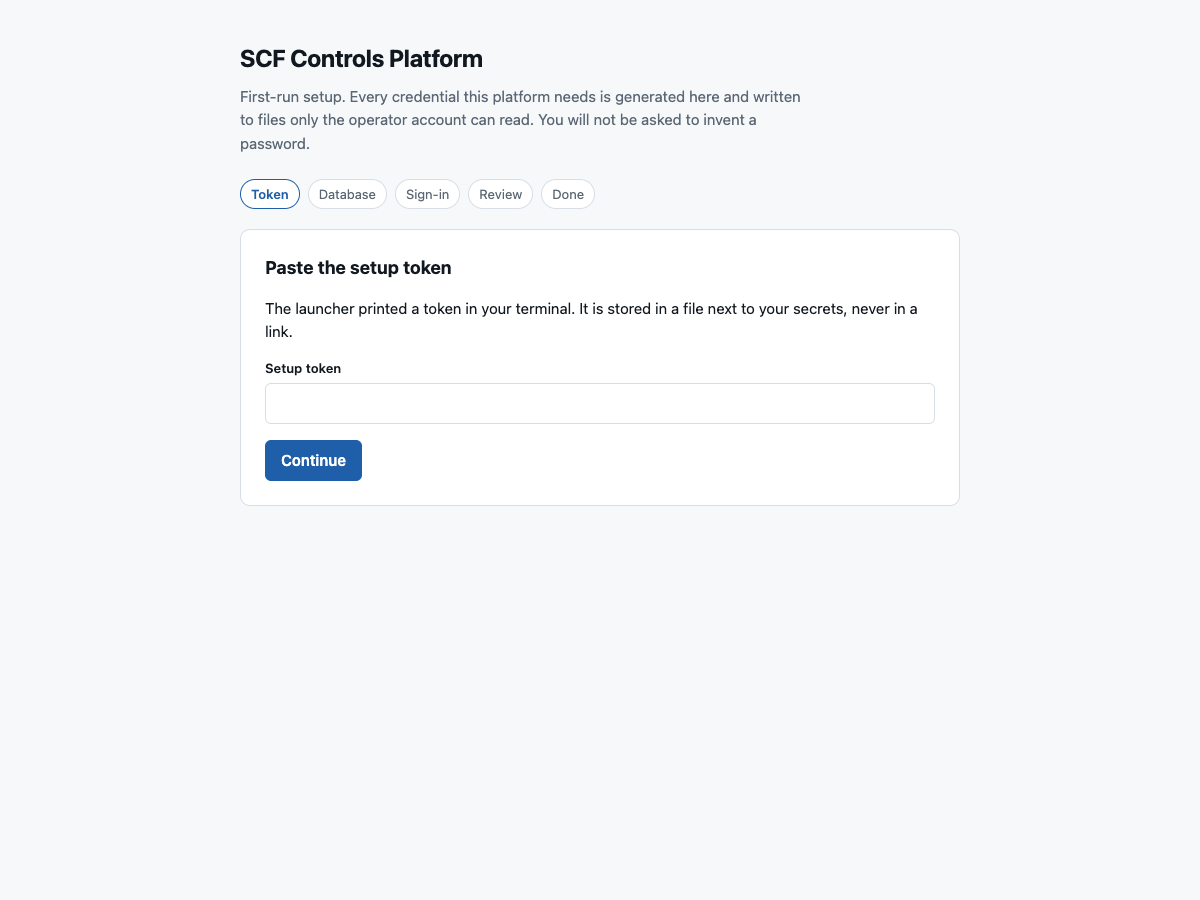
Paste the token the installer printed. It is stored in a file next to your secrets, never in a
link, so it does not appear in the browser history or in any access log. Five wrong tokens shut
the wizard down with nothing written; re-run scripts/install.sh for a fresh one.
Database
Section titled “Database”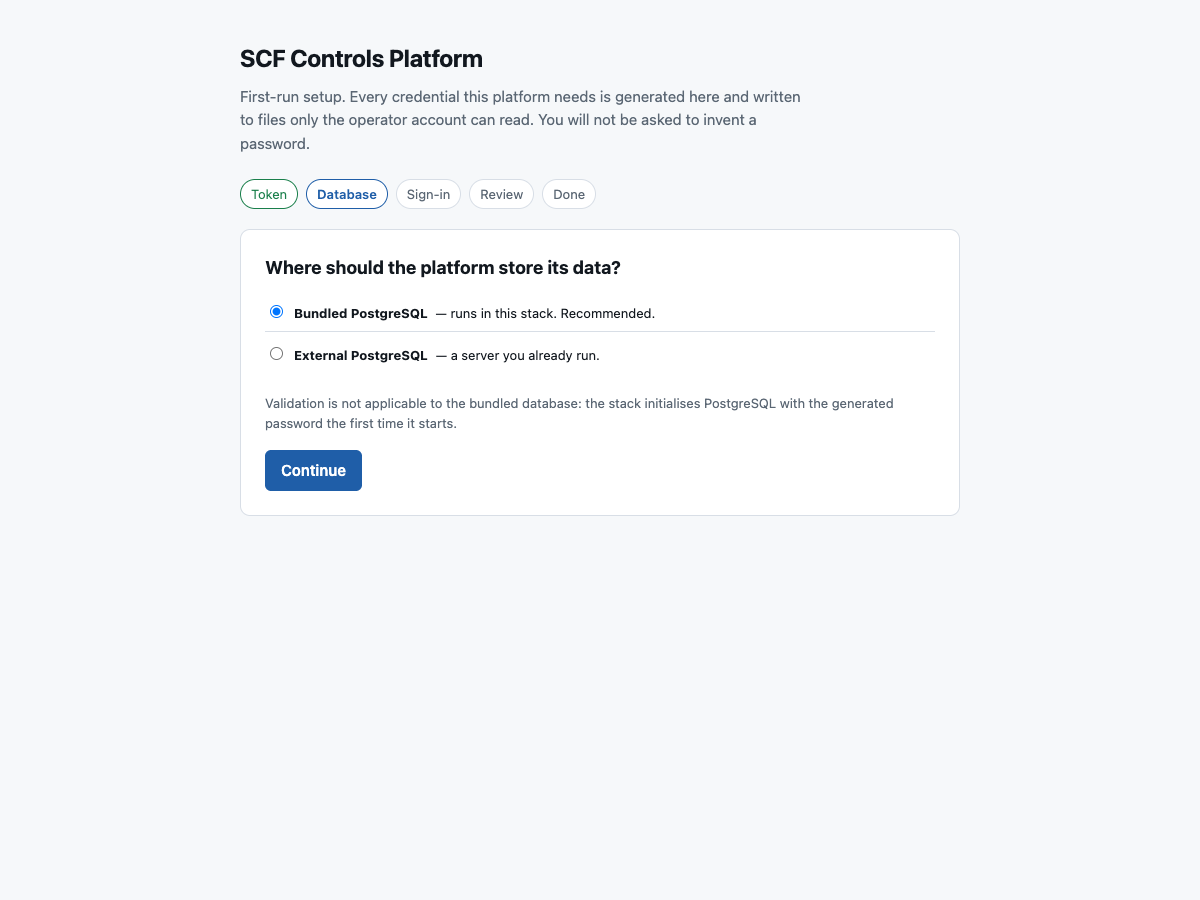
Bundled PostgreSQL runs inside the stack, is initialised with a generated password on first start, and is covered by the platform’s backup and upgrade scripts. It is the right choice unless you already operate a PostgreSQL server you want the platform to use.
External PostgreSQL points the platform at a server you run. Choose it and the form expands:
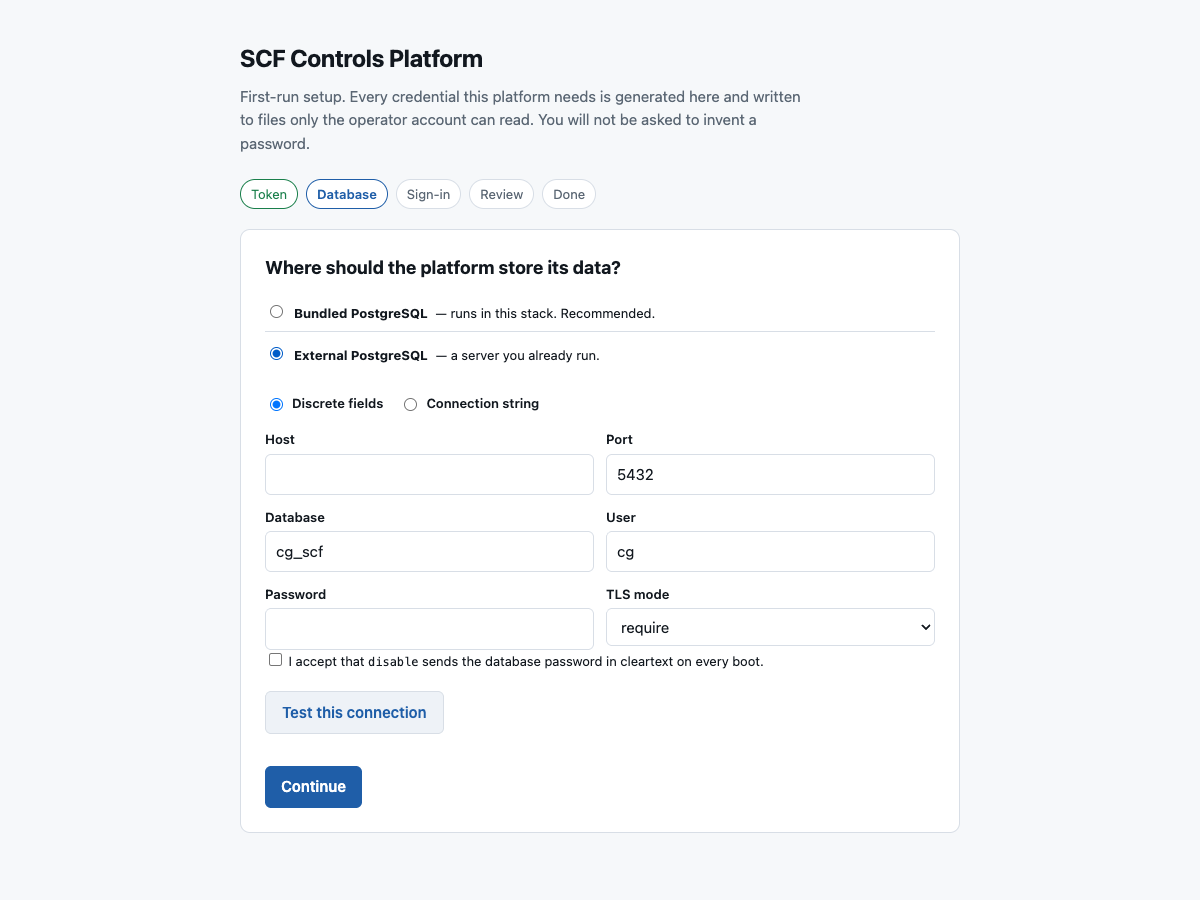
Fill in the host, port, database, user and password, and choose a TLS mode. require is the
default; verify-ca and verify-full additionally check the server’s certificate. disable is
refused unless you tick the acknowledgement that it sends the database password in cleartext on
every boot.
If your provider gave you a connection string, switch to Connection string and paste it:
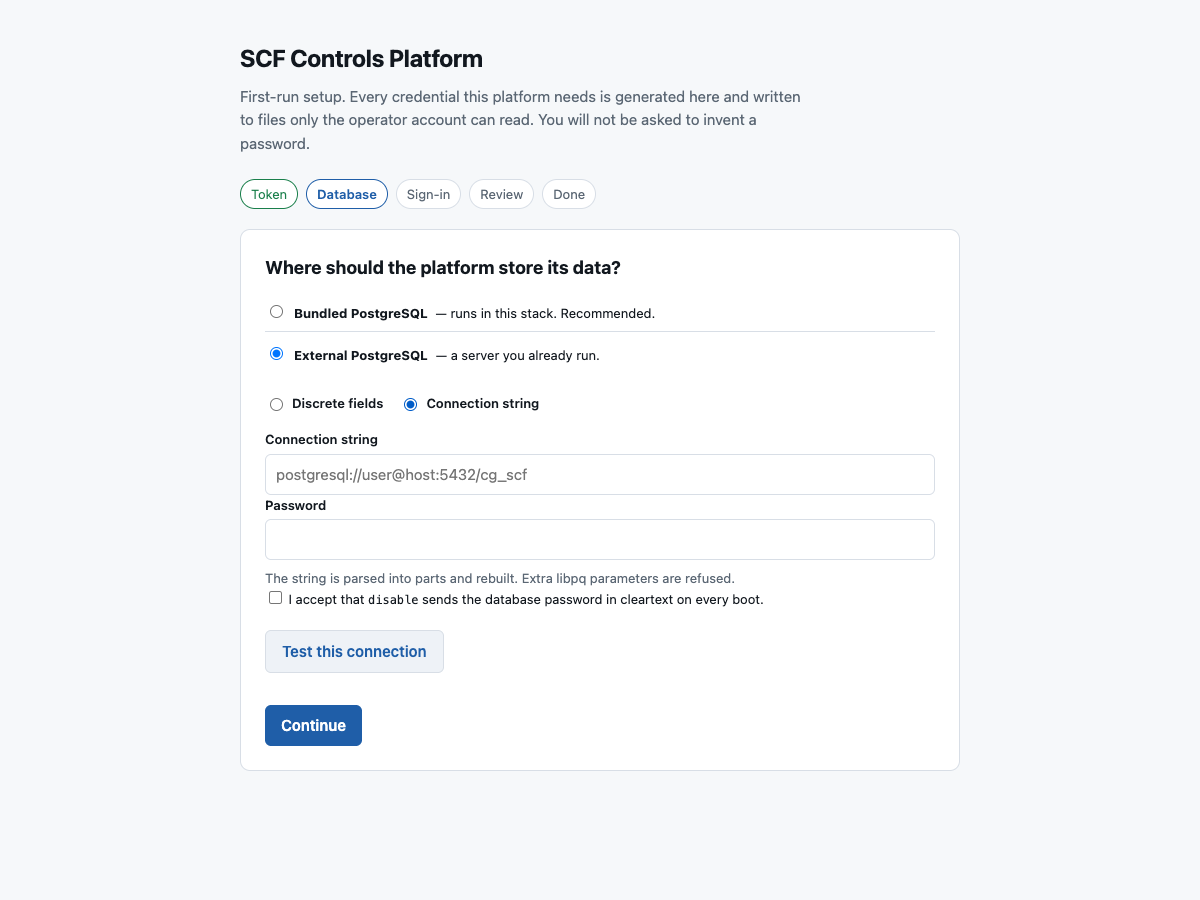
The string is parsed into its parts and the connection is rebuilt from them, so libpq options such
as options= or a unix-socket host= are refused rather than passed through. A password inside
the string is used; a value in the separate password field overrides it. Either form writes the
same result: the parts land in .env and the password in a 0600 file. See
Database connection for the variables.
Test this connection runs seven checks before anything is written, and the wizard will not continue past a failure: DNS resolution, a TCP connection, authentication, that TLS actually came up at the requested mode, that the server is PostgreSQL 15 or newer, that the user can create and drop a table, and that the database exists.
Sign-in
Section titled “Sign-in”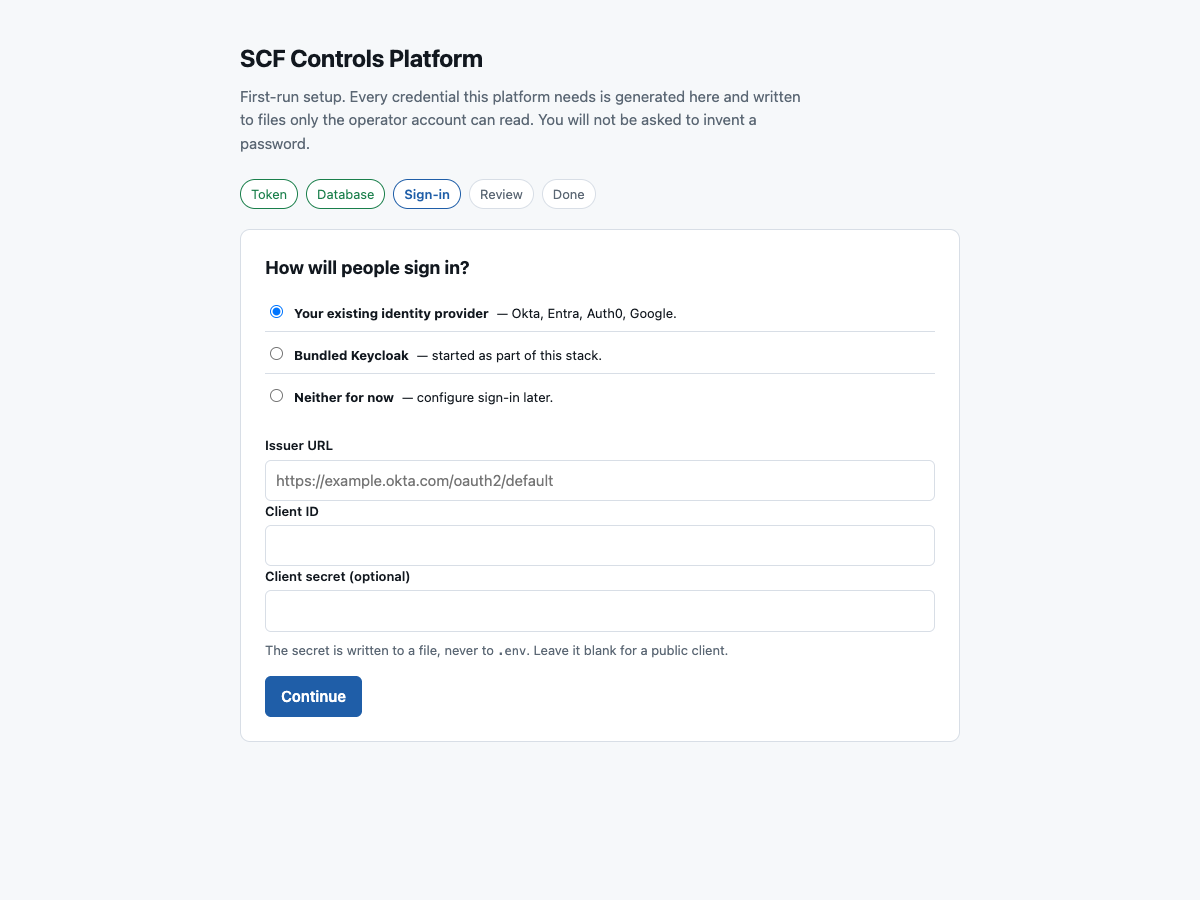
- Your existing identity provider (Okta, Entra, Auth0, Google, or any OIDC provider). Enter
the issuer URL and client ID. The client secret is optional (leave it blank for a public client)
and is written to a file, never to
.env. Register the redirect URI first; see Identity Provider. - Bundled Keycloak starts an identity provider inside the stack. The wizard asks for a Keycloak
administrator username and for your email address, which is the account
--uppromotes to platform administrator. - Neither for now leaves sign-in unconfigured. Read the trust boundary warning before choosing this on anything but a private test host: without an identity provider, anyone who can load the UI is an administrator.
Review
Section titled “Review”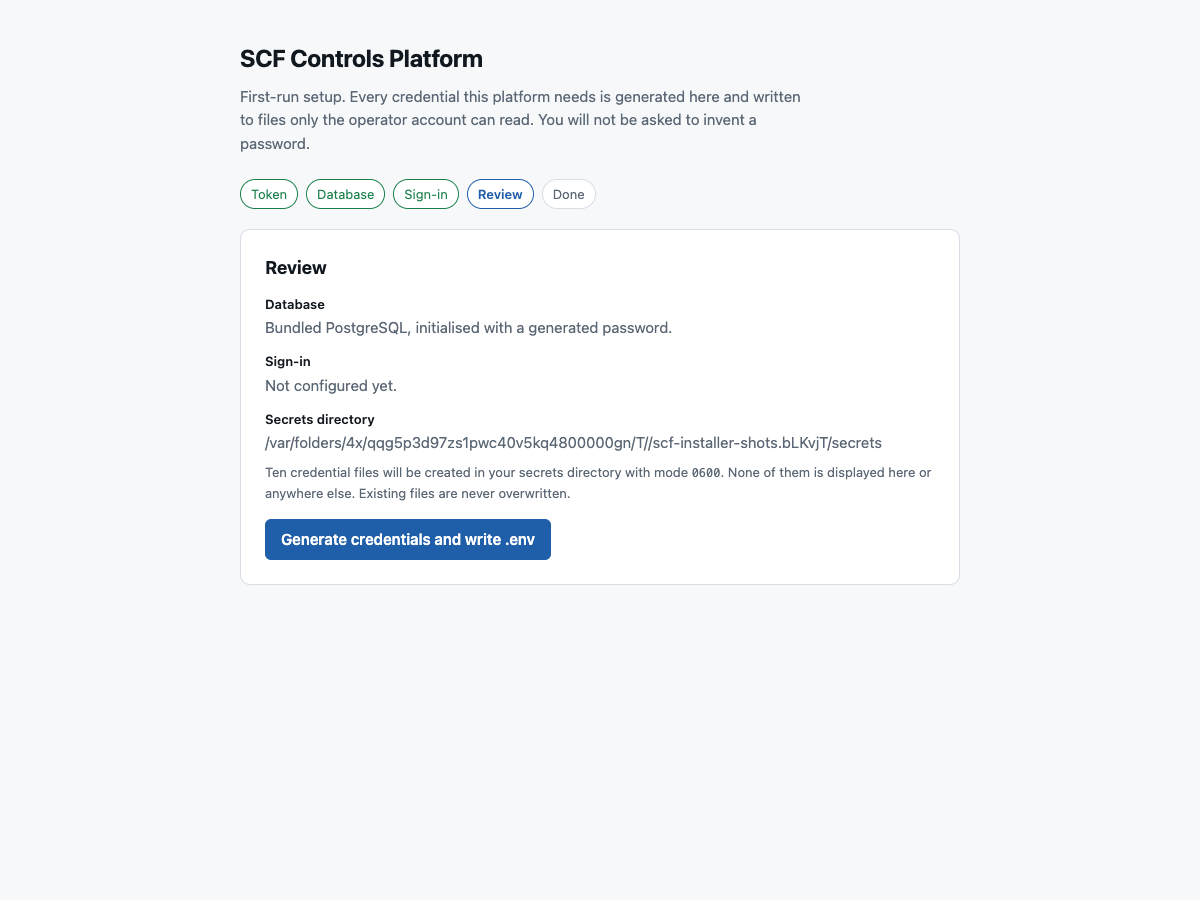
The review shows what you chose and the directory the credential files will be written to
(~/.scf/secrets unless you passed --secrets-dir). Nothing has been written yet. Generate
credentials and write .env does all of it in one step: ten credential files with mode 0600
and a .env holding non-secret settings only. None of the values is displayed, here or anywhere
else.
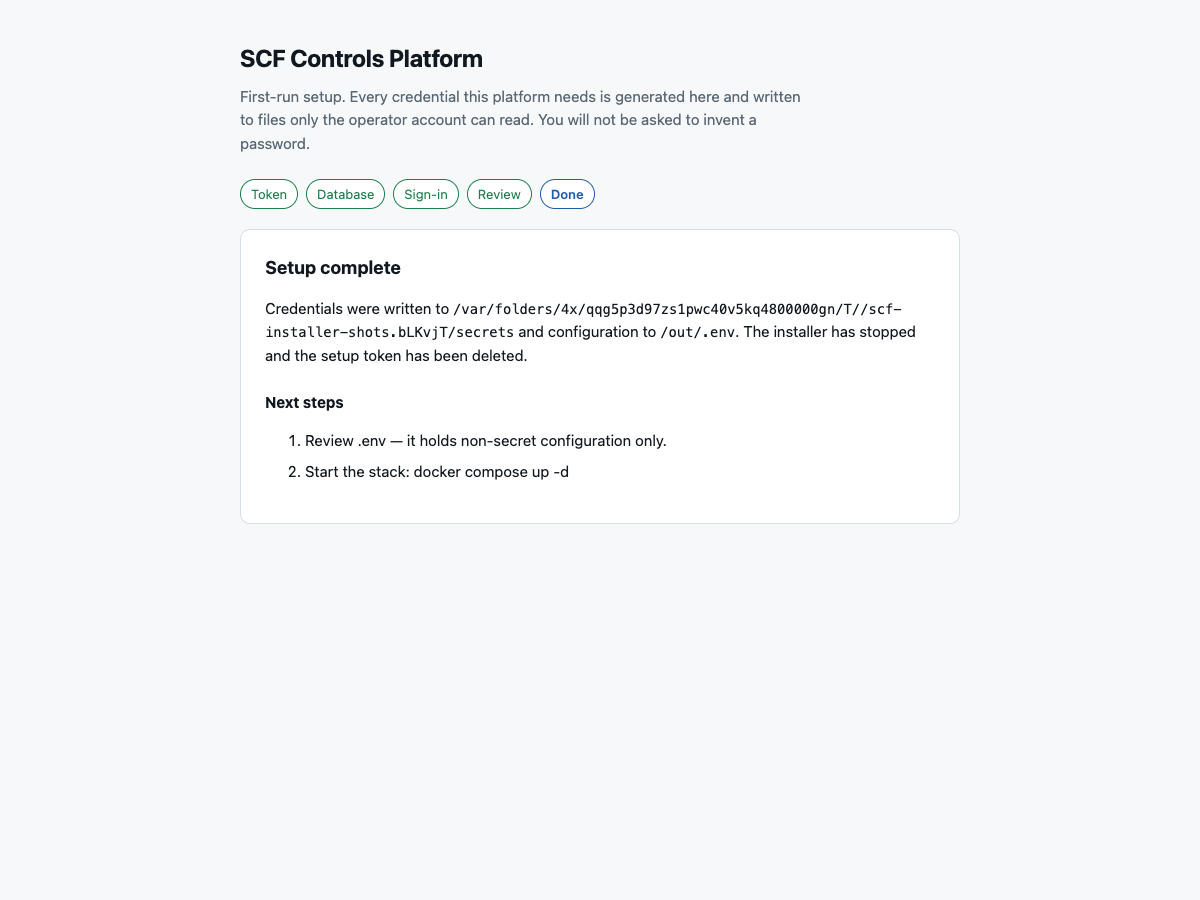
The wizard stops itself and deletes the setup token. If you started the installer with --up, the
terminal on the host is now bringing the stack up and waiting for the backend to report healthy;
otherwise run docker compose up -d. Continue with
Create your organisation and sign in.
What was written, and what to keep
Section titled “What was written, and what to keep”The secrets directory is the one thing you must back up and never commit. Which file holds which
credential, and how to rotate any of them, is on
Credentials and secrets. Running the installer a second time is refused
while .env or the .provisioned marker exists, so an existing install is never overwritten by
accident.