
Authentication
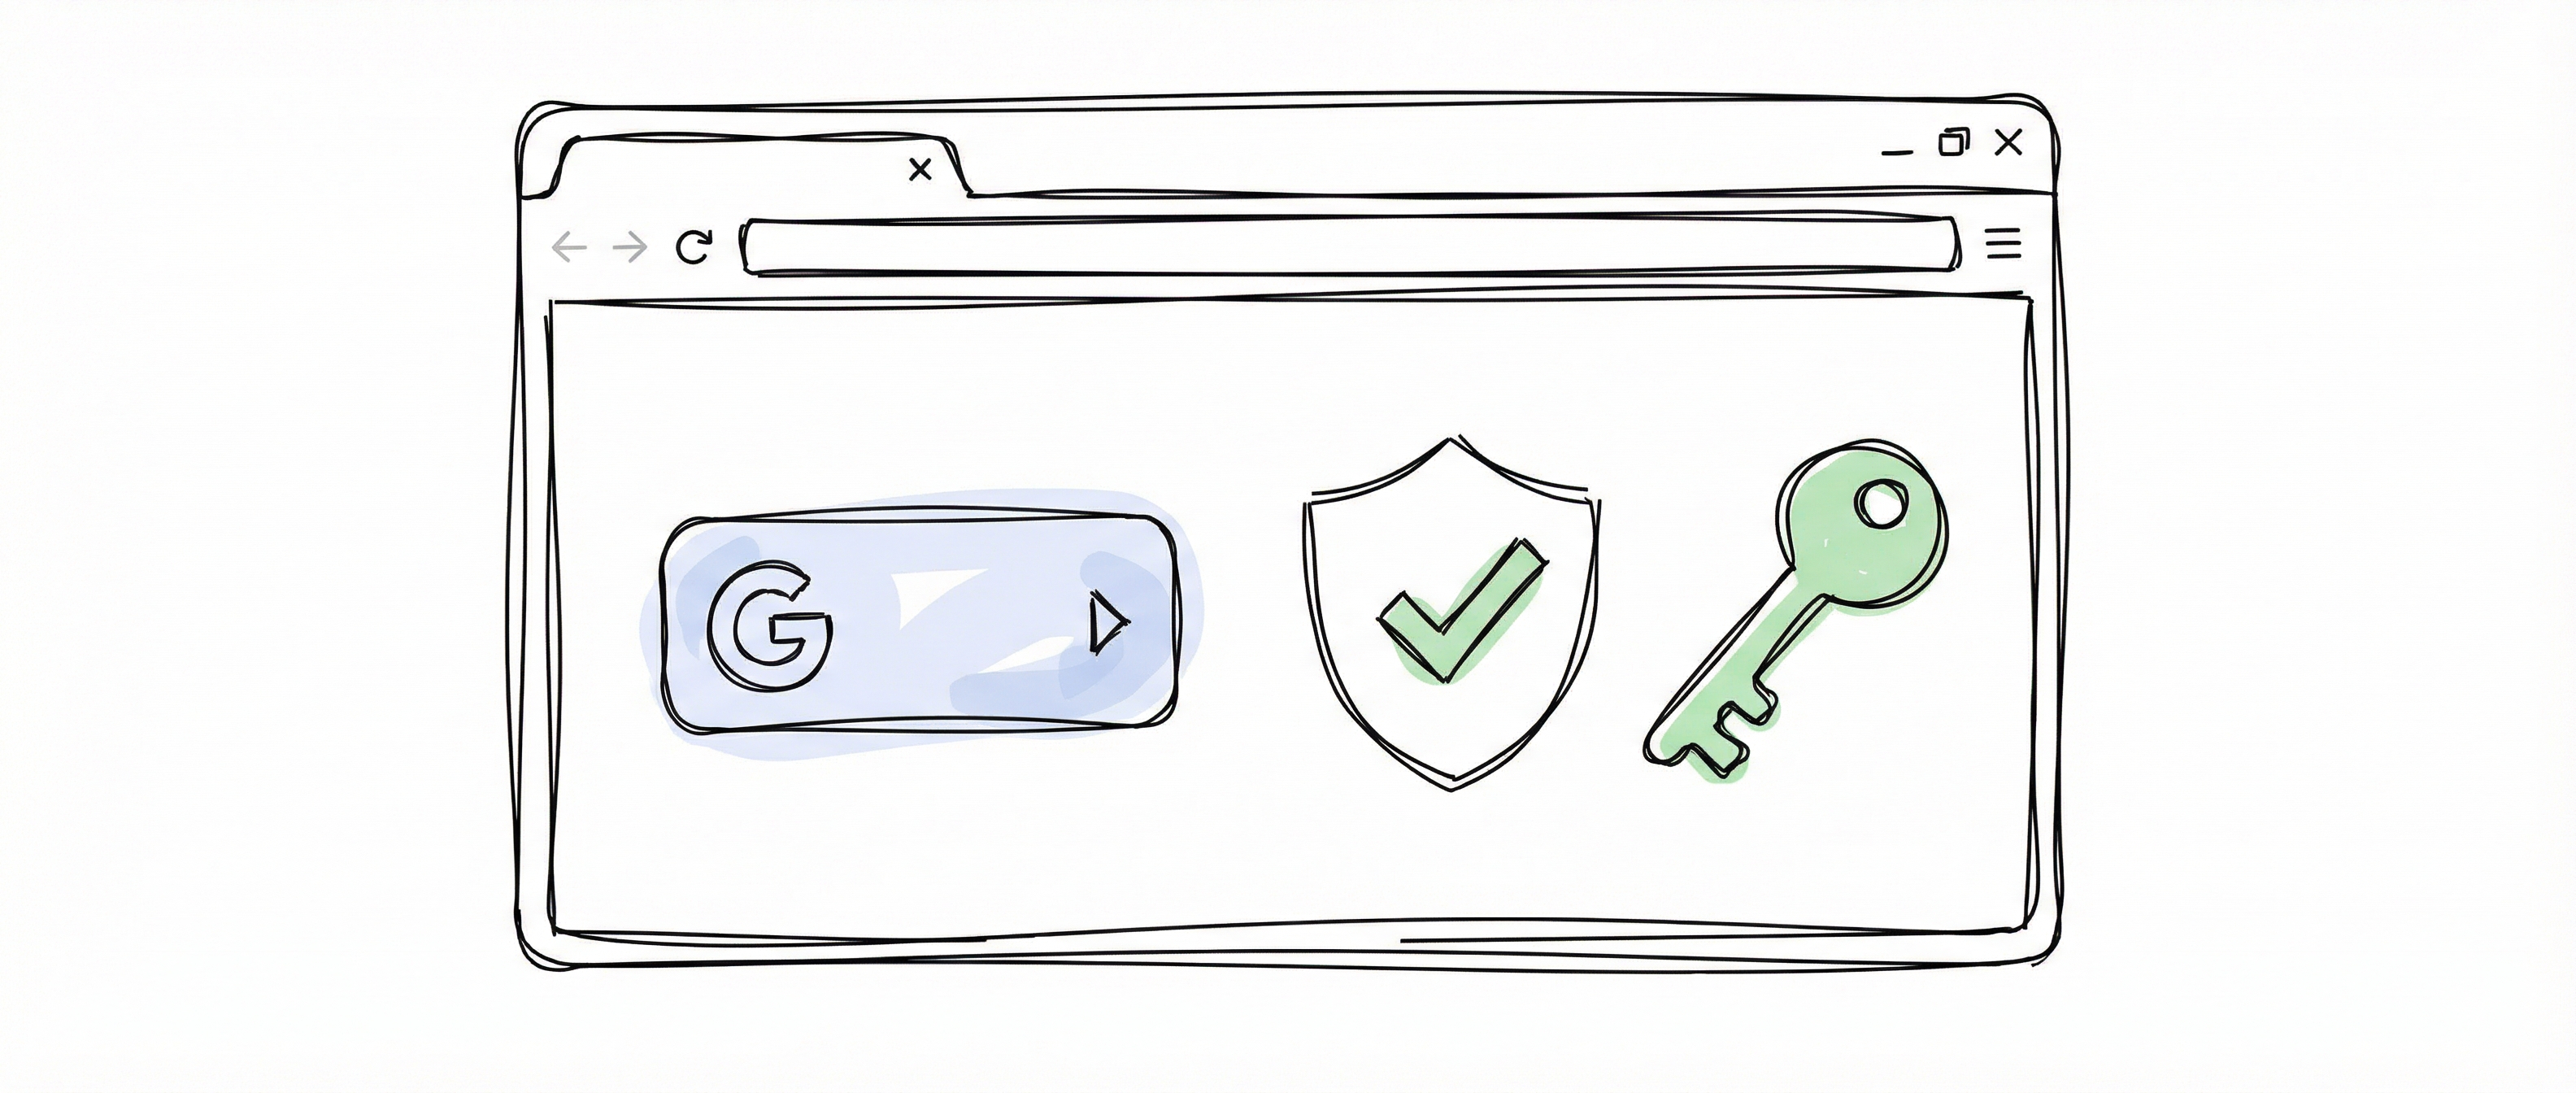
The self-hosted SCF Controls Platform authenticates with the master API_KEY you set in
.env — no external identity provider is required. Optional sign-in methods (OIDC single
sign-on, Google Sign-In) can be enabled on top when your team needs individual user accounts.
Authentication methods
Section titled “Authentication methods”| Method | Default | When to use |
|---|---|---|
API key (API_KEY + OSS_SINGLE_TENANT=1) | ✅ On | Single-tenant self-hosted installs — the quick-start path |
| OIDC single sign-on | Off | Team installs that want individual accounts via the bundled Keycloak or your own IdP (Okta, Entra ID, Auth0, Google Workspace) |
| Google Sign-In | Off | Installs that prefer direct Google OAuth without an OIDC broker |
API-key authentication (default)
Section titled “API-key authentication (default)”Out of the box (GOOGLE_AUTH_ENABLED=false, OSS_SINGLE_TENANT=1):
- You set a master
API_KEYin.envbefore first start (openssl rand -hex 32), and setVITE_API_KEYto the same value — that is the copy the web app uses, baked into the frontend at build time. Installs made withscripts/install.shskip both steps: the installer generatesAPI_KEYinto the secrets directory and the frontend build reads it from there. - The web app authenticates to the backend with that key; in single-tenant mode the key acts as the admin of your single organisation, so there is no sign-in screen to configure.
- The same key authorises direct REST API calls — send it as a Bearer token.
Treat the master key like a root credential: store it in a password manager, rotate it if it may have leaked, and don’t embed it in scripts you share.
What the master key can do
Section titled “What the master key can do”In single-tenant mode the master key administers your single organisation, and the REST API treats it as a platform administrator:
| Area | Master key over the REST API | Shown in the web app |
|---|---|---|
| Organisation data — controls, evidence, risks, vendors | Yes | Yes |
| Organisation settings, members, API keys | Yes | Yes |
| Platform administration — catalog upgrade, tenant reconciliation | Yes | No — see below |
| Consultant Portal | Yes, once a consultant profile exists | Only with a profile |
Outside single-tenant mode the same key is an ordinary automation credential — the platform-admin grant is tied to the single-tenant guard, not to the key itself, so adding a second organisation withdraws it automatically. The guard is evaluated at startup, so restart the backend after changing the number of organisations or members.
SSO / OIDC sign-in (optional)
Section titled “SSO / OIDC sign-in (optional)”Self-hosted deployments can authenticate through OIDC single sign-on — either the bundled
Keycloak (docker compose --profile idp up -d) or your own provider. It is off by default.
See Identity Provider for setup.
When OIDC is enabled, the sign-in button redirects to your identity provider:
- Click Sign in
- You’re redirected to your identity provider (the bundled Keycloak, or your own IdP)
- Enter your credentials there — the exchange uses the authorization code flow with PKCE
- You’re redirected back to the platform and signed in
Google Sign-In (optional)
Section titled “Google Sign-In (optional)”To let users sign in with Google accounts directly, set in .env:
GOOGLE_AUTH_ENABLED=trueVITE_GOOGLE_AUTH_ENABLED=trueGOOGLE_CLIENT_ID=<your-oauth-client-id>VITE_GOOGLE_CLIENT_ID=<your-oauth-client-id>You provide your own Google OAuth client (created in your Google Cloud console). When enabled, users click Sign in with Google and grant access to their basic profile and email. The platform receives only email address, display name, and profile picture — never contacts, calendar, email content, or files.
User roles
Section titled “User roles”Access level depends on the assigned role:
| Role | Access |
|---|---|
| Admin | Full access: manage users, configure frameworks, view all data |
| User | Standard access: view and edit controls, evidence, and risks |
| Viewer | Read-only access: view controls and reports without editing |
Your organisation’s administrator assigns roles via User Management.
Session management
Section titled “Session management”- Sessions remain active while you’re using the platform; after extended inactivity you’ll be prompted to sign in again (when a sign-in method is enabled).
- To sign out, click your profile avatar in the top-right corner and select Sign out.
- Always sign out on shared computers.
Troubleshooting
Section titled “Troubleshooting”Sign-in popup closes immediately or is blocked (Google Sign-In)
Section titled “Sign-in popup closes immediately or is blocked (Google Sign-In)”Allow popups for the site (popup-blocker icon in the address bar), then try again. If the button does nothing, temporarily disable ad blockers or try an incognito window.
“Account not authorised” error
Section titled ““Account not authorised” error”The account has not been provisioned. An administrator needs to invite the user — see User Management.
What that invite has to cover depends on the deployment. On the bundled Keycloak the invite creates the sign-in account as well, so inviting the user is enough. On a bring-your-own OIDC or Google install the platform does not create accounts in the identity provider: the administrator has to create the account there and invite the user here. The badge on the pending invitation says which case applies — see User provisioning.
Signed in but no data appears
Section titled “Signed in but no data appears”The account may not be assigned to an organisation yet. Verify the account setup with your administrator, then sign out and back in.
For deployment-level authentication problems (wrong API_KEY, single-tenant guard refusing to
start), see Troubleshooting.
Related guides
Section titled “Related guides”- Deployment — install, first sign-in and the installer options
- Identity Provider — enabling OIDC SSO
- User Management — managing team members and roles